Feathersticks: 3 Ways
Jamie Dakota
Feathersticks, Three Ways.
The featherstick is a mainstay of many a backwoods traveller, being useful for wet weather or on popular campgrounds where fine kindling may be in short supply. Done badly, the nefarious “fuzz-stick” would swiftly rule out this methodology for firewood preparation. Done well though, and this simple product of 10 minutes work will strike a flaming spear into the harshest of weather conditions.
“Feathersticks at -5 on a snowy trip to Glen Affric”
There are several excellent resources available if you’d like to learn the guiding principles of good feathersticks, with some beautiful articles in previous issues of this very Journal, and I’d highly recommend seeking those out to gain a clear understanding of what you’re aiming to produce.
What I’d like to demonstrate here are three carving techniques that I’ve employed on my journeys to reliably produce fine curls in different circumstances. Having a multitude of methods to achieve a goal, be that feathersticks or knots, friction-fire or shelter, gives you options when you’re being challenged in the outdoors. I’ve also found the following techniques have been transformative for many of our clients at Howl over the years, where one technique alone would present a daunting pathway to functional feathersticks, a change in technique has opened a door to confidence and growth.
Method one:
The supported forehand cut.
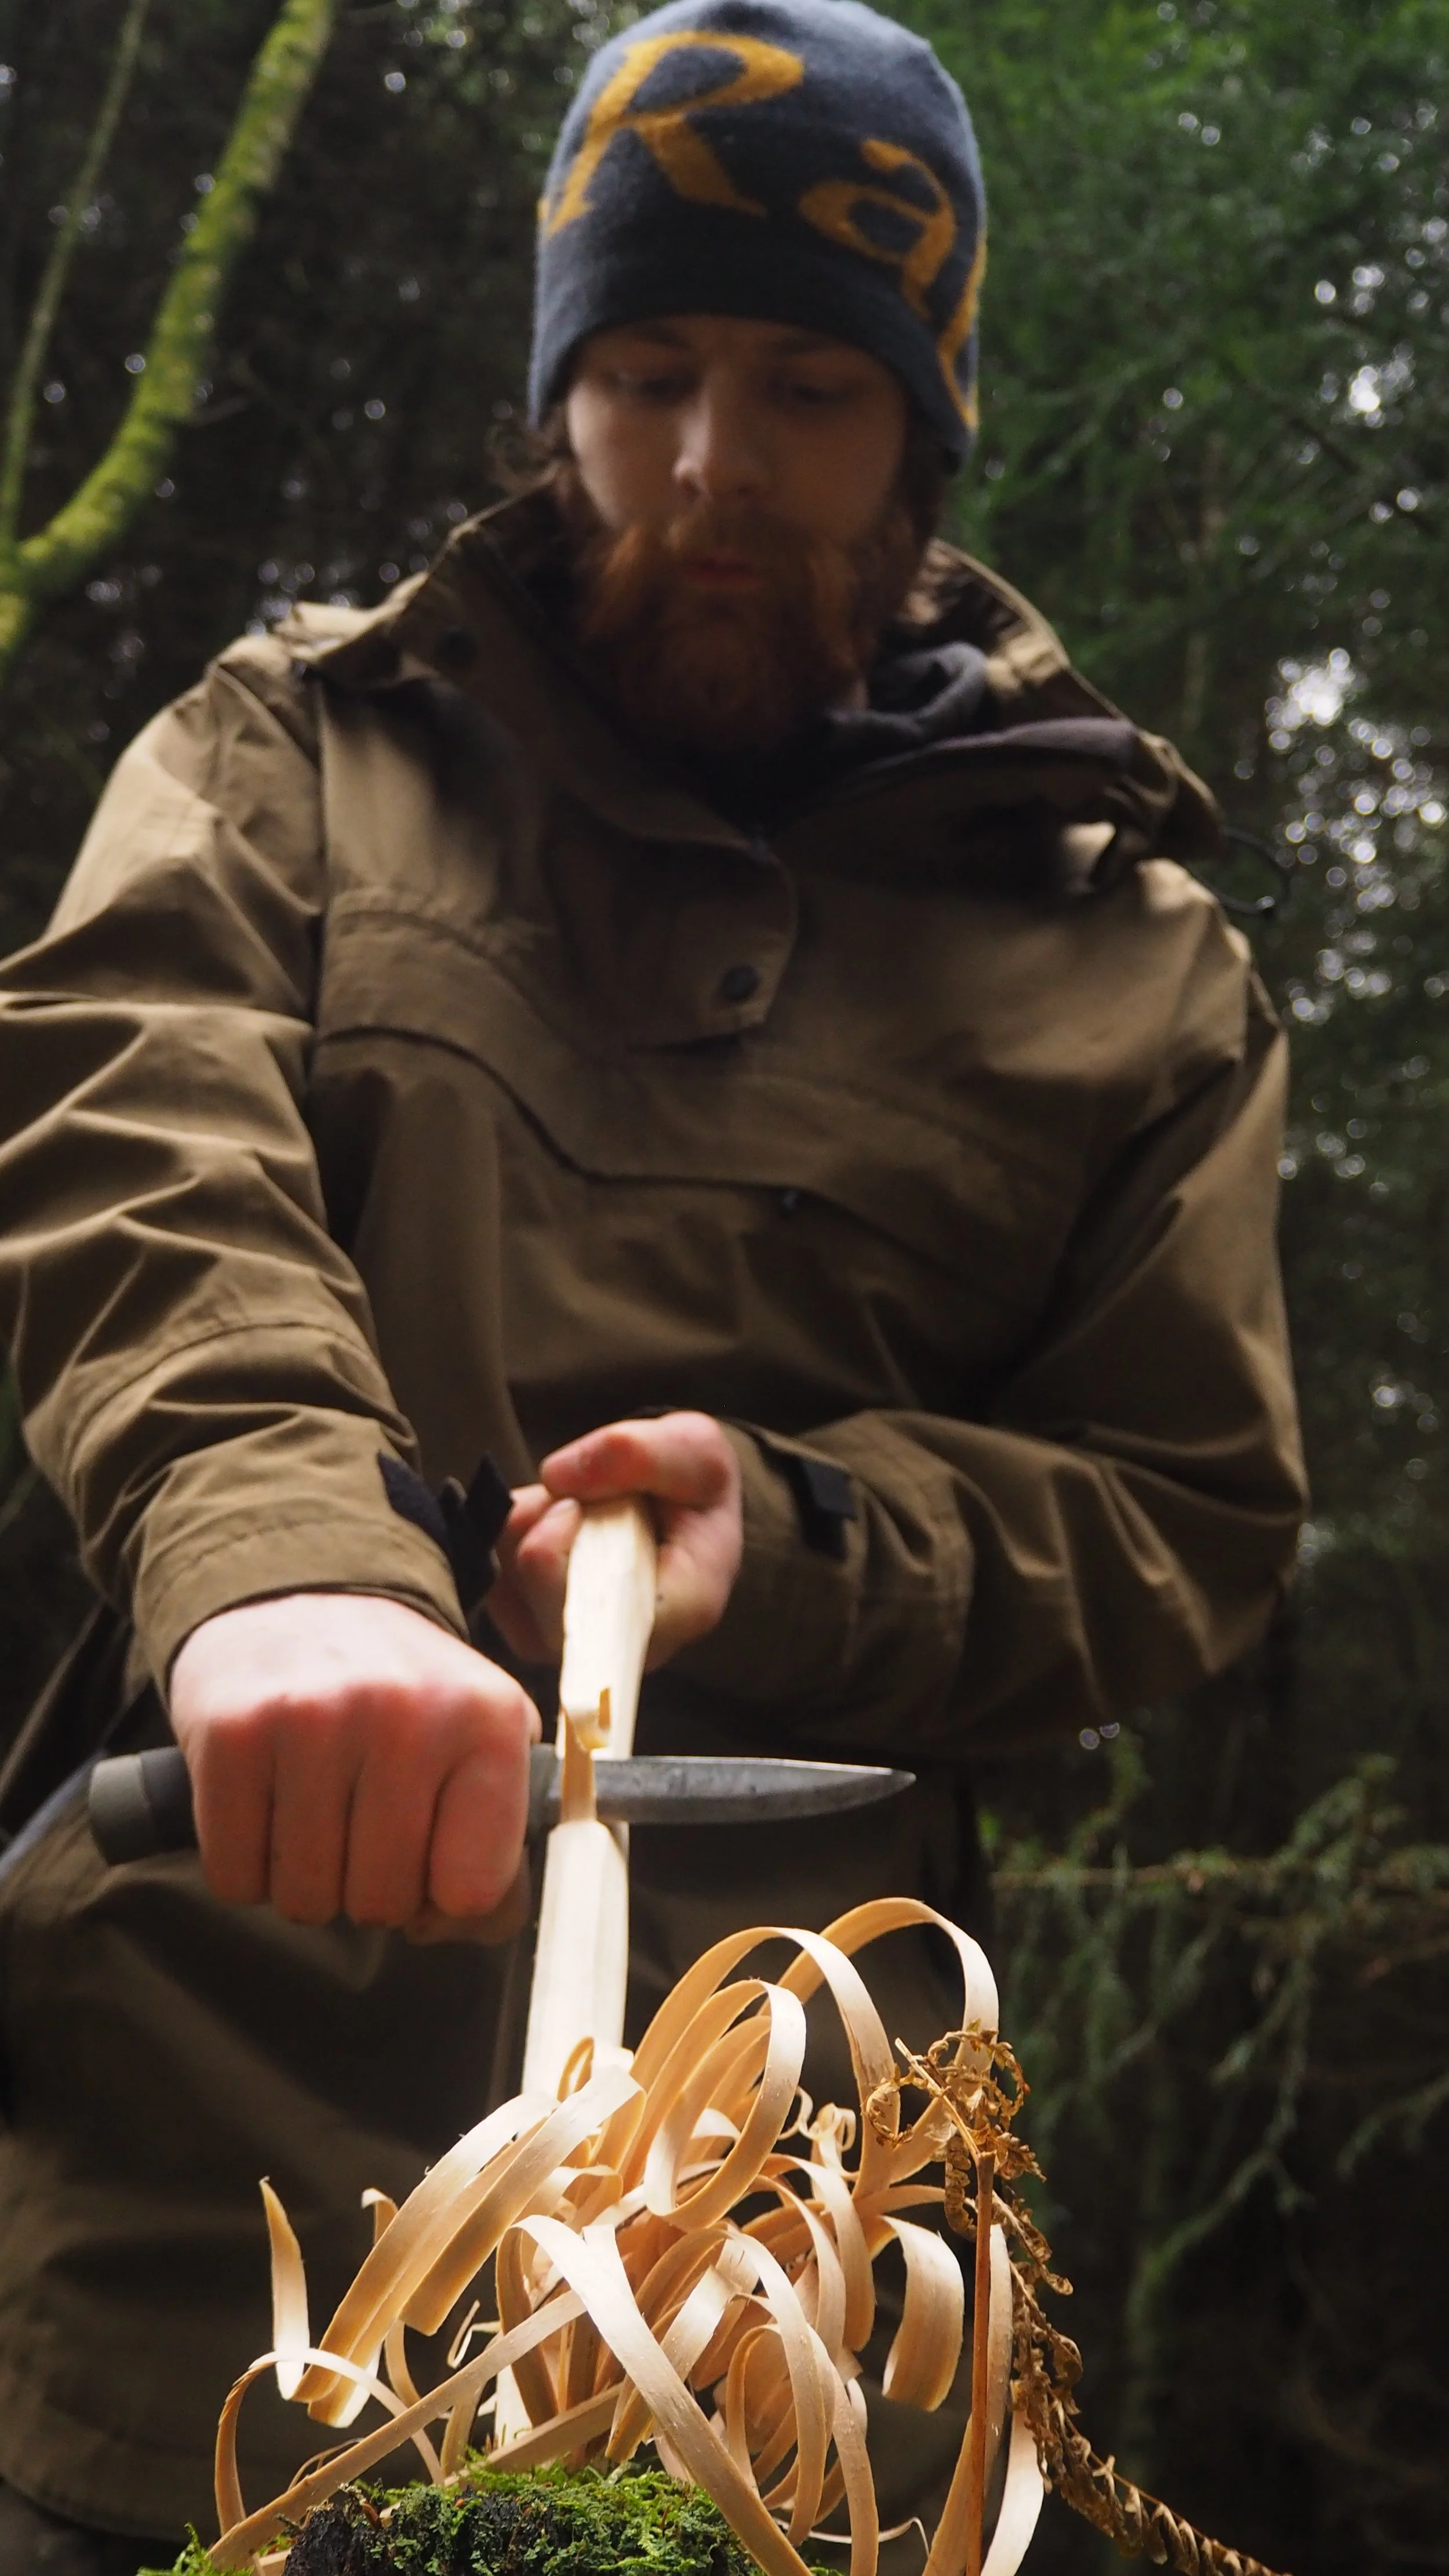
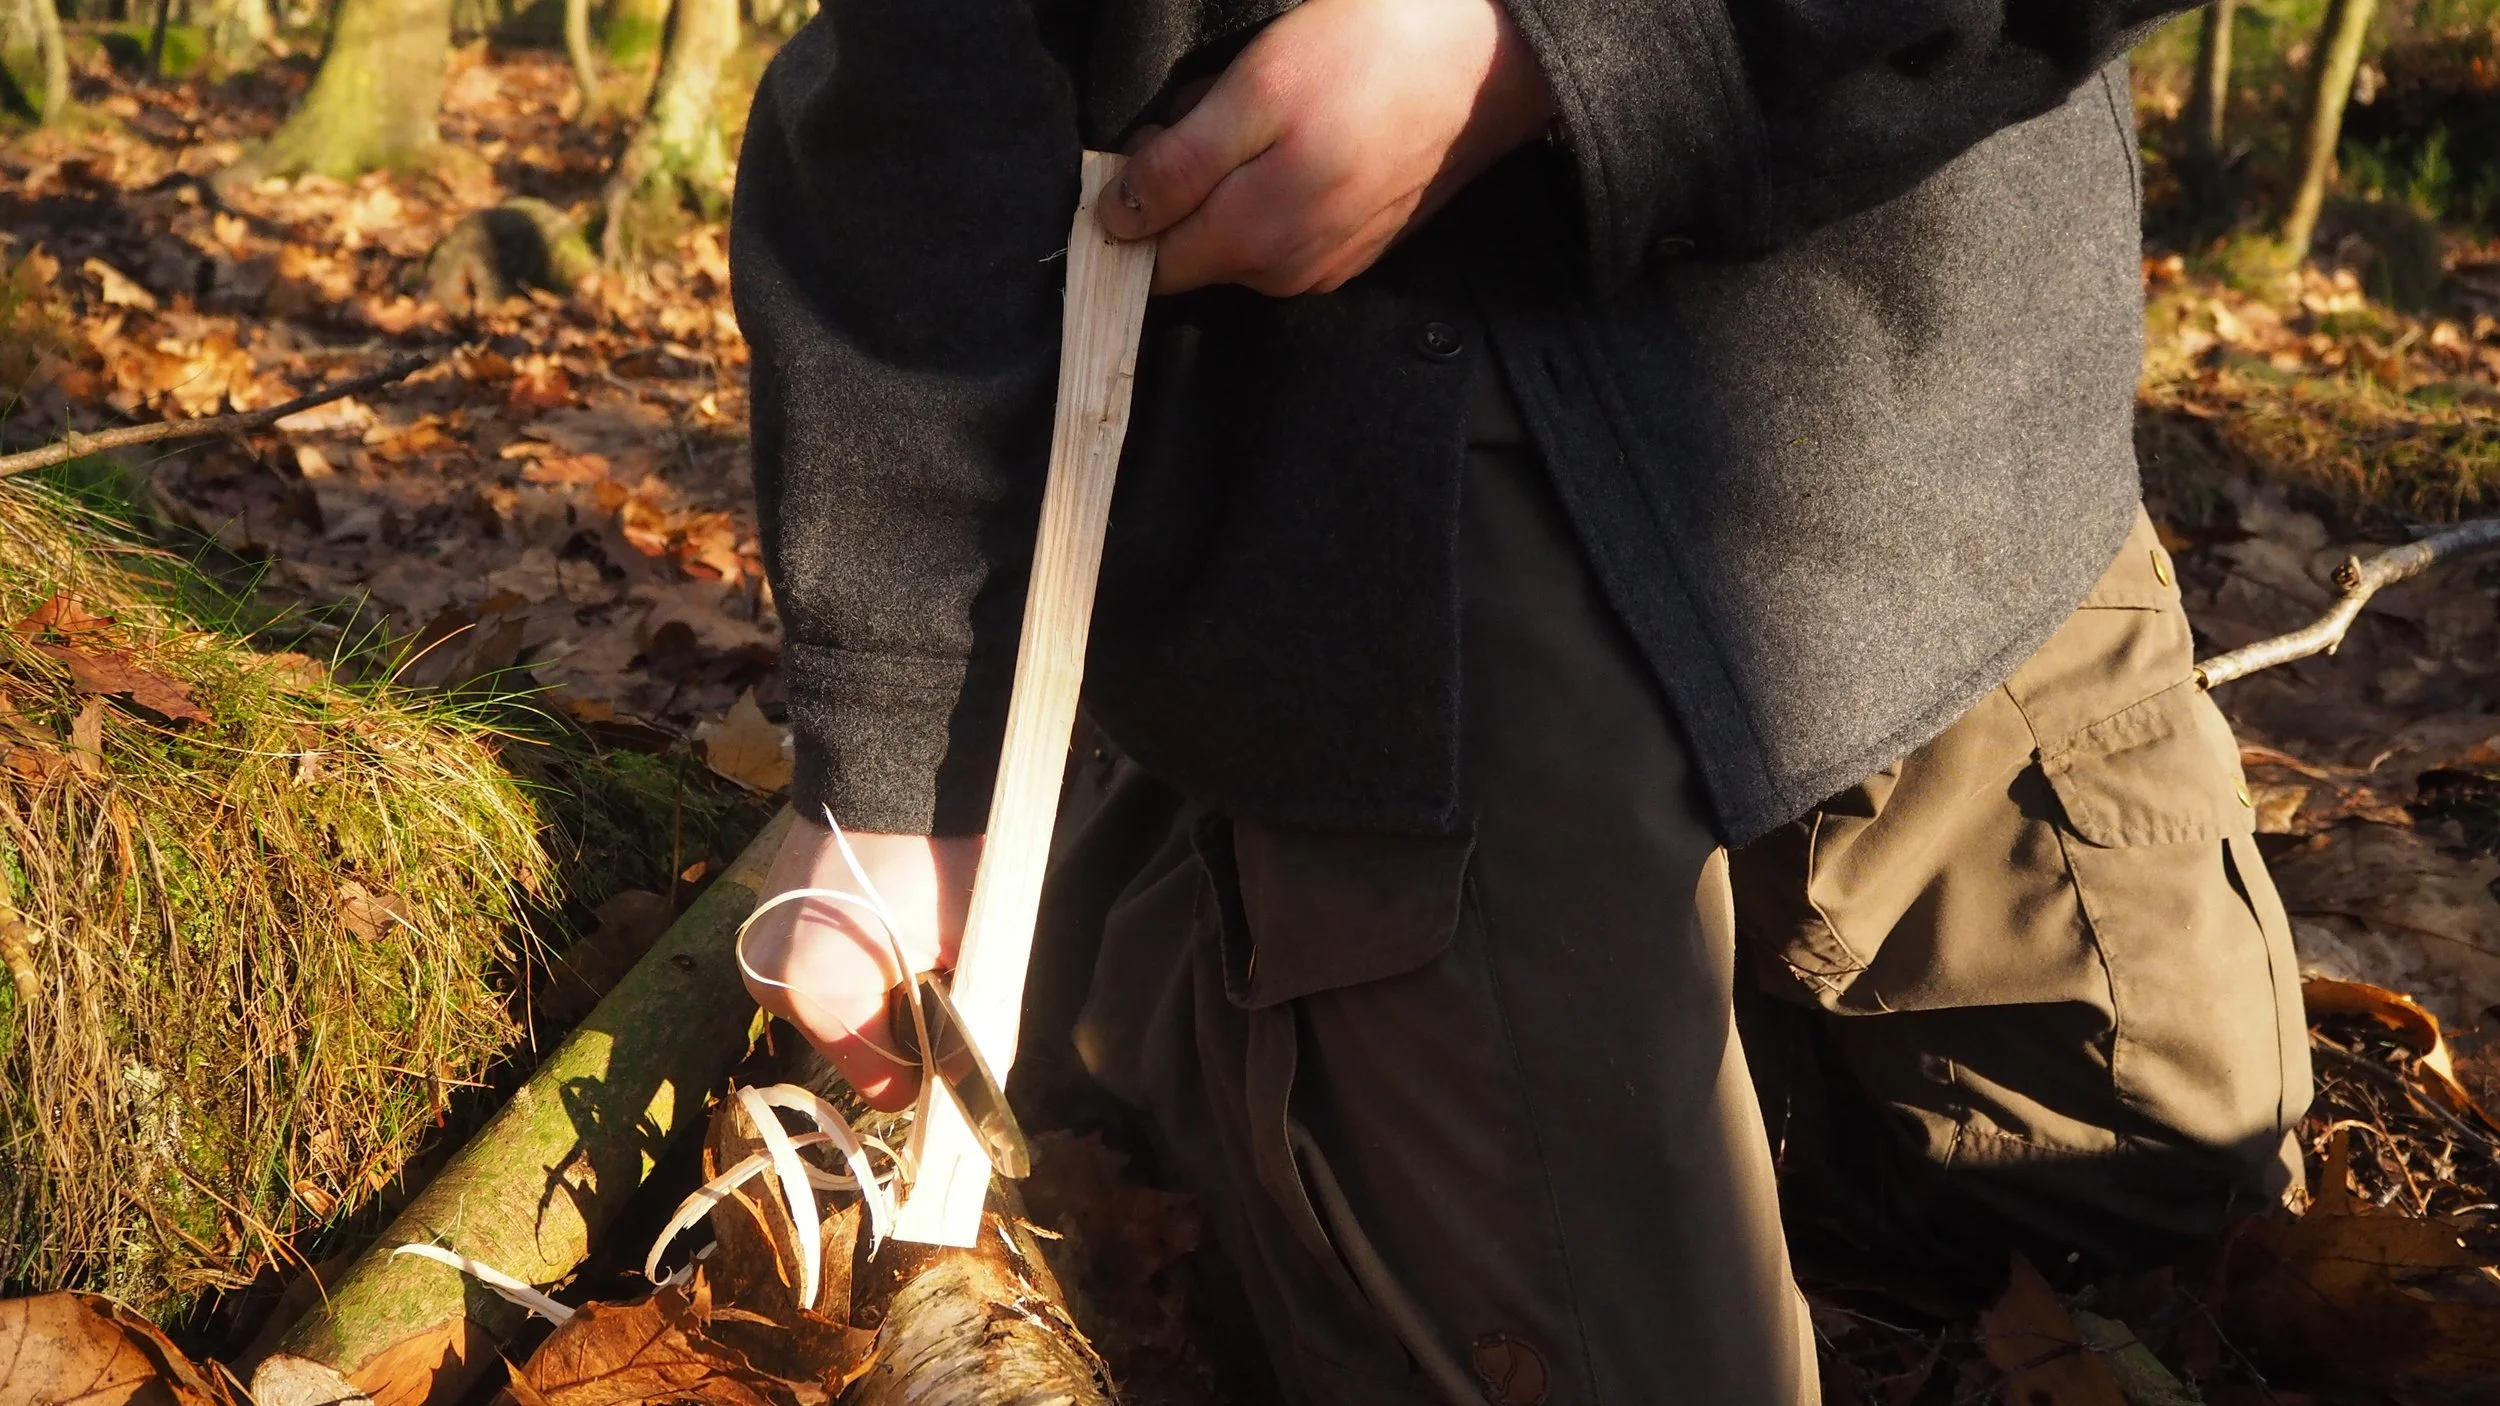
This classic option relies on a back-stop to support the far end of your stick, usually a stump or a heavy branch laid on the ground. By having this anchor at the far end to work towards, you greatly increase the stability of the stick you’re carving, allowing you to focus on following the grain down the wood to peel long curls from the stick.
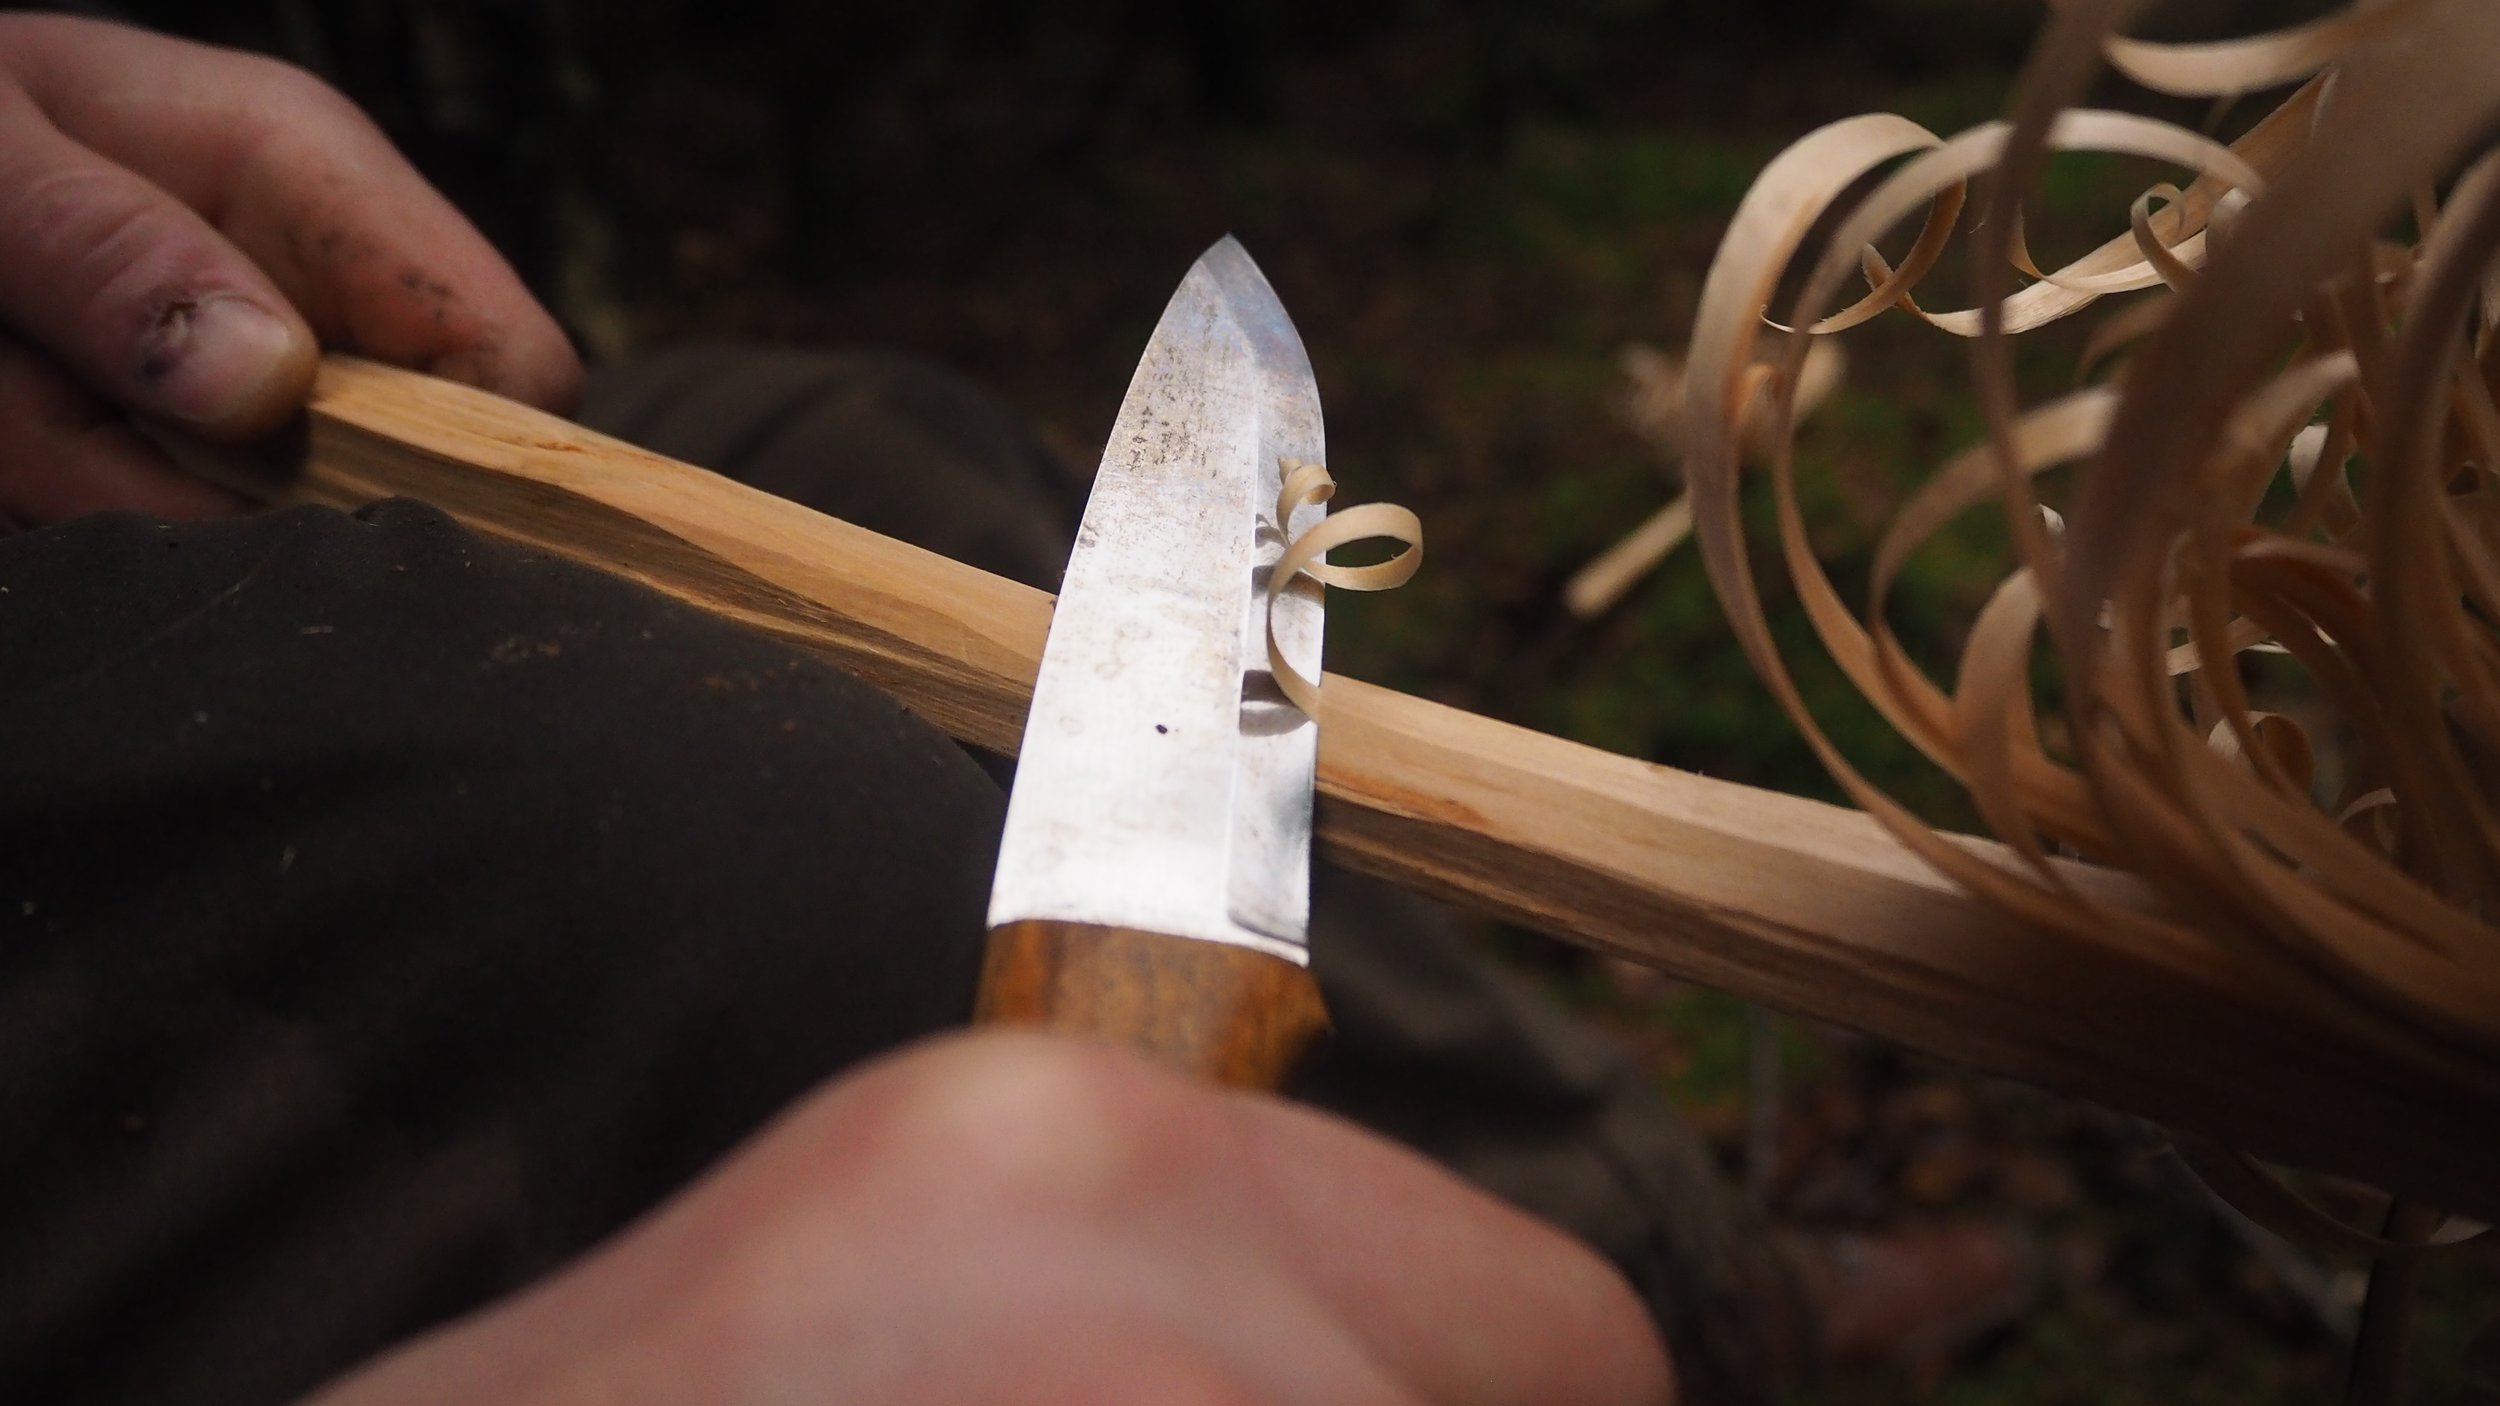
We use the forehand grip on the knife, remember to wrap your thumb around the handle rather than having the thumb-pad rested on the spine of the knife. This prevents blisters, hypertension of the forearm muscles, and allows you to fully angle the blade backward to create a slicing action.
Keep a relatively straight arm and lean into the cut with your shoulder so you minimise strain on your wrist and employ your weight to help you. Care should be taken not to lean onto the stick however as snapping it at a crucial moment is quite frustrating!
Here Max demonstrates good form in keeping tight control of the top end of the stick, and making full runs down towards the curls. Care should be taken to hold the stick firmly at the top and the cut must be started below the fingers gripping the stick: I’ve seen one very bad cut where the carver had extended their index finger on their left hand to support the stick only to swiftly fillet the finger when the knife slipped.
Body position is also important with this technique. You can either carve directly in front of you as Max is doing to allow a good line of sight down the stick, or you can carve to the side of your body which is my own preference.In carving to the side you almost lock your arm and cut by leaning from the shoulder.
“The key is to carve with your shoulder and arm, not by flexing the wrist. Set your cutting angle at the start, either tip down or tip up, and then apply light forward force from the shoulder.”
Method two:
The knee brace.
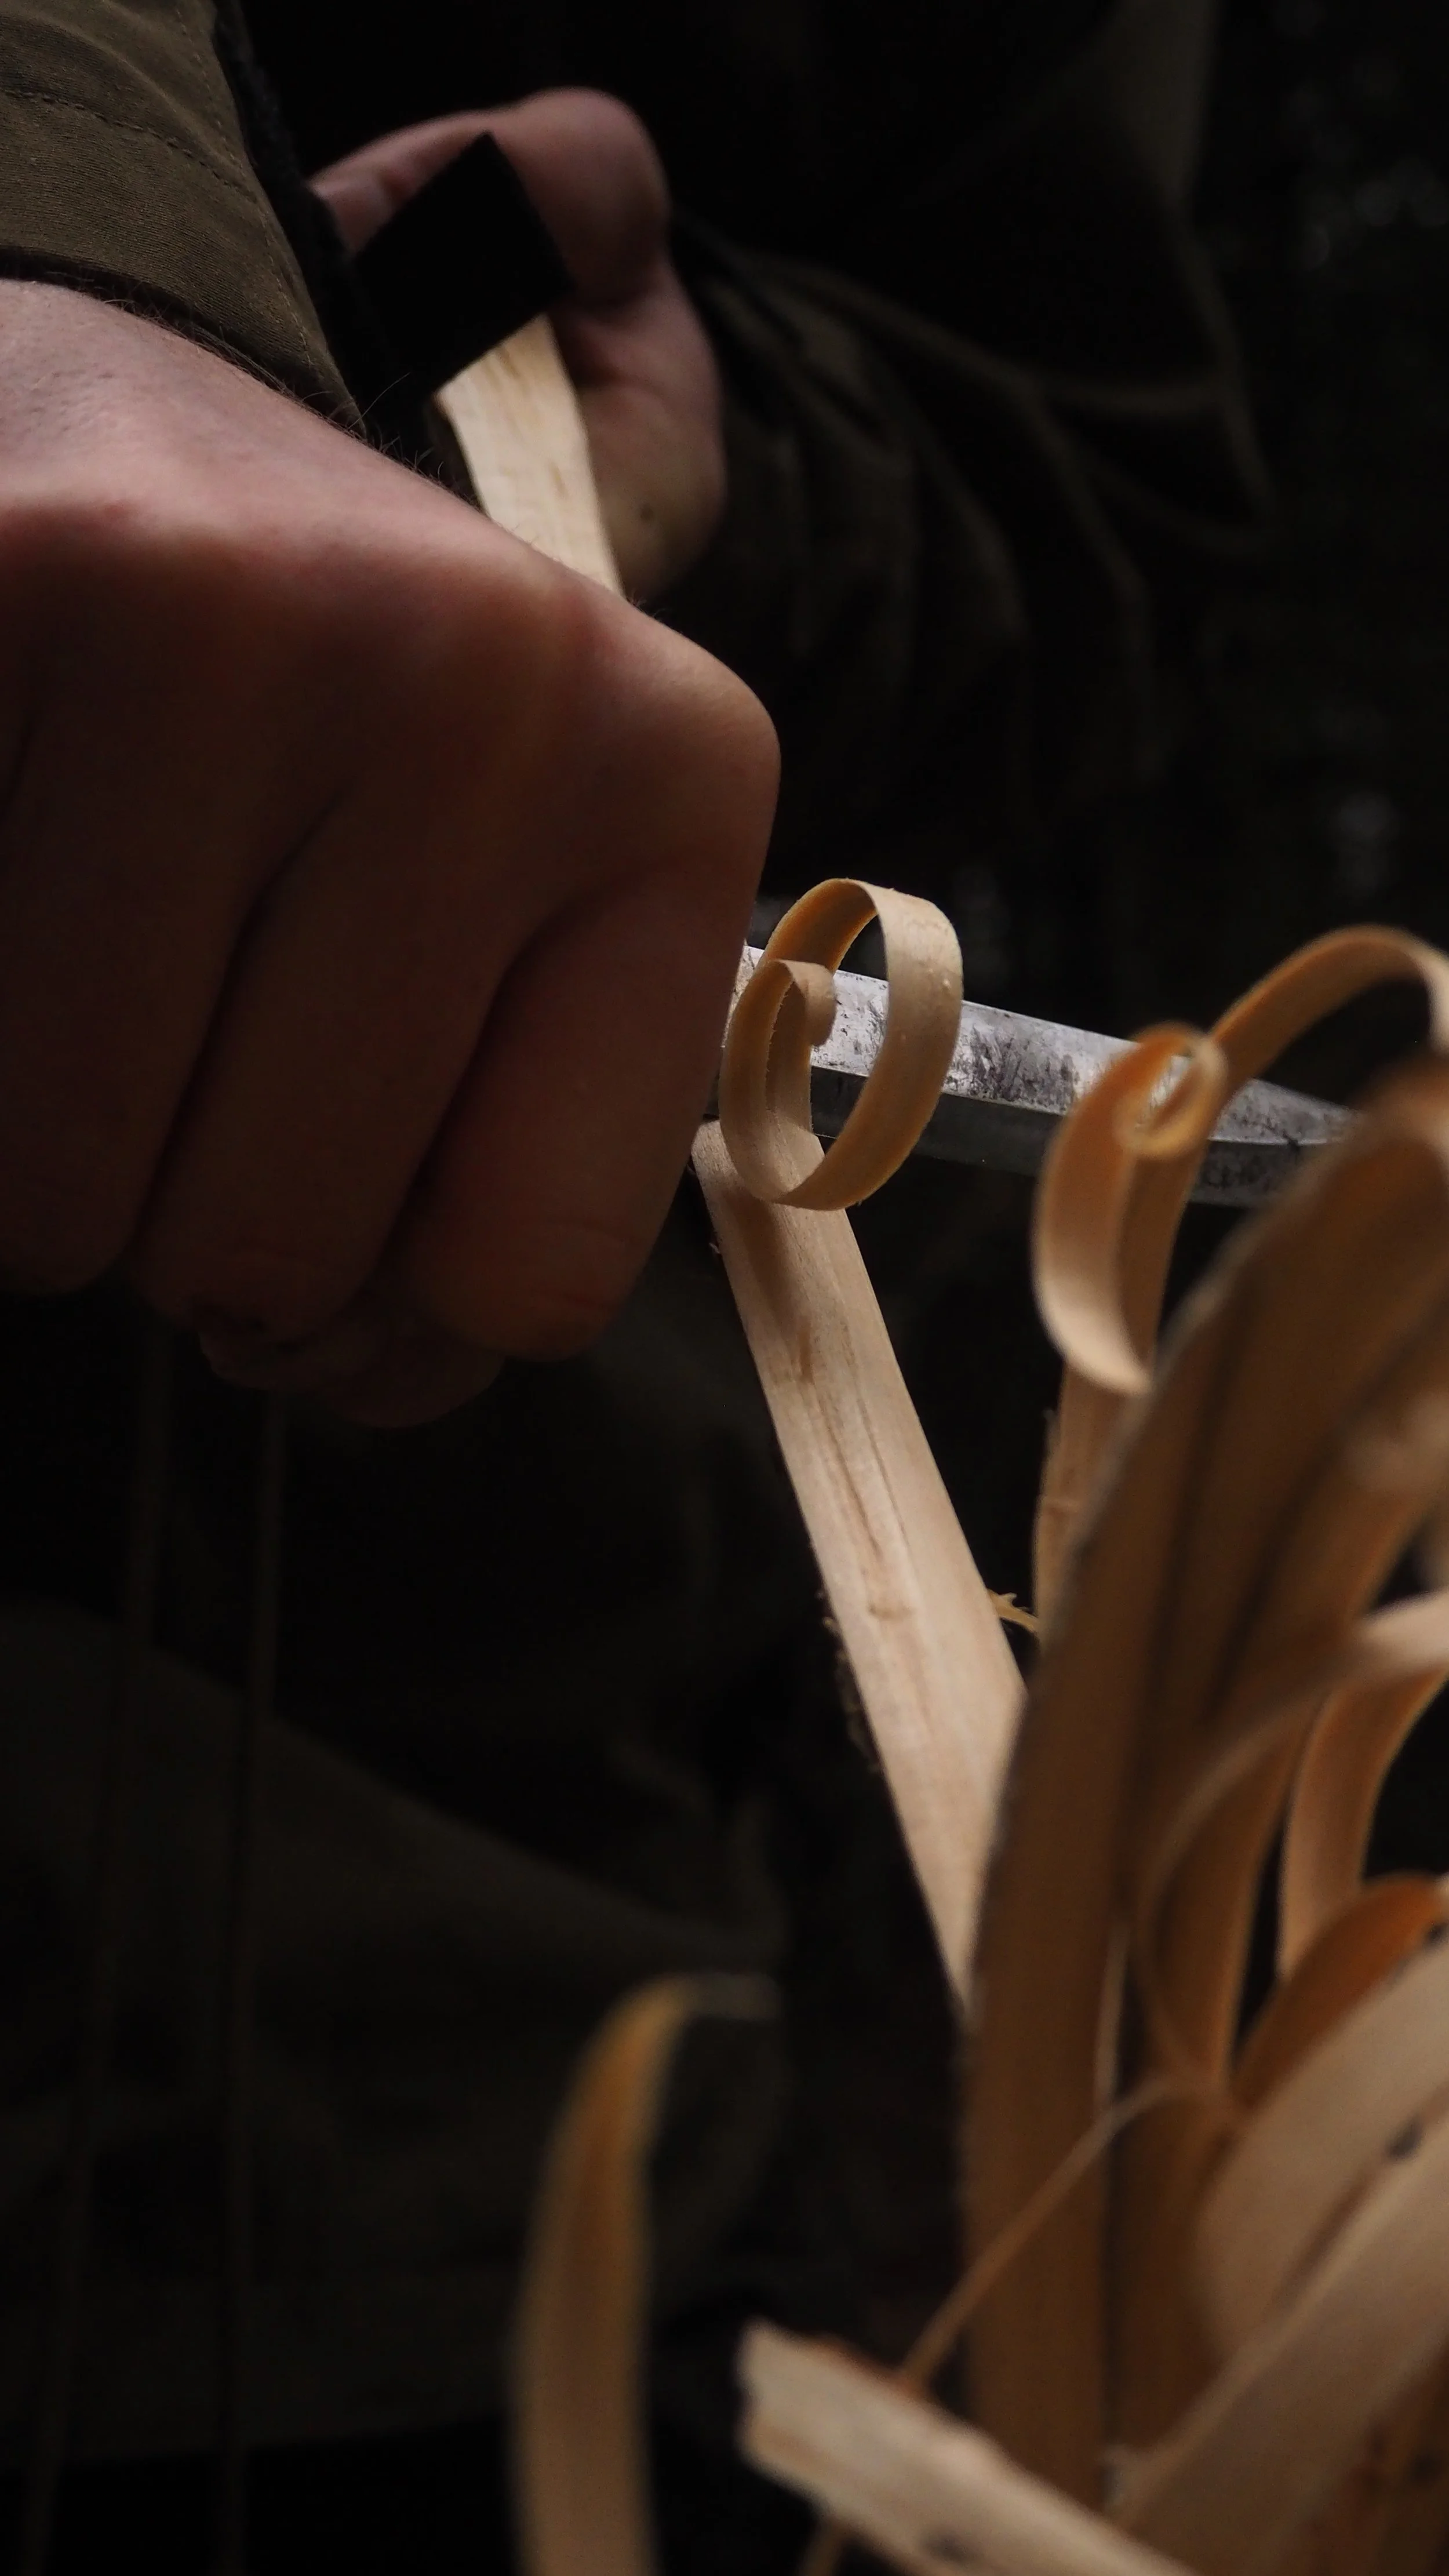
This technique has to be one of my favourites. It mixes things up a bit as you hold the knife still and draw the stick backwards across the blade, as such this takes a little practice to get used to and therefore does put some people off. I would argue that it is well worth persevering in learning this method, as it applies a different muscle group to the previous method and so when lots of sticks need to be created you can switch between the two techniques and carve for much longer without fatigue.
The knee brace also allows you to carve very fine feathersticks without needing a block and log to carve on, you can simply sit under your tarp on a rainy day and carve anywhere. The support you gain from the knee also greatly decreases the effort required of your arm, a welcome respite if you’ve been paddling hard all day.
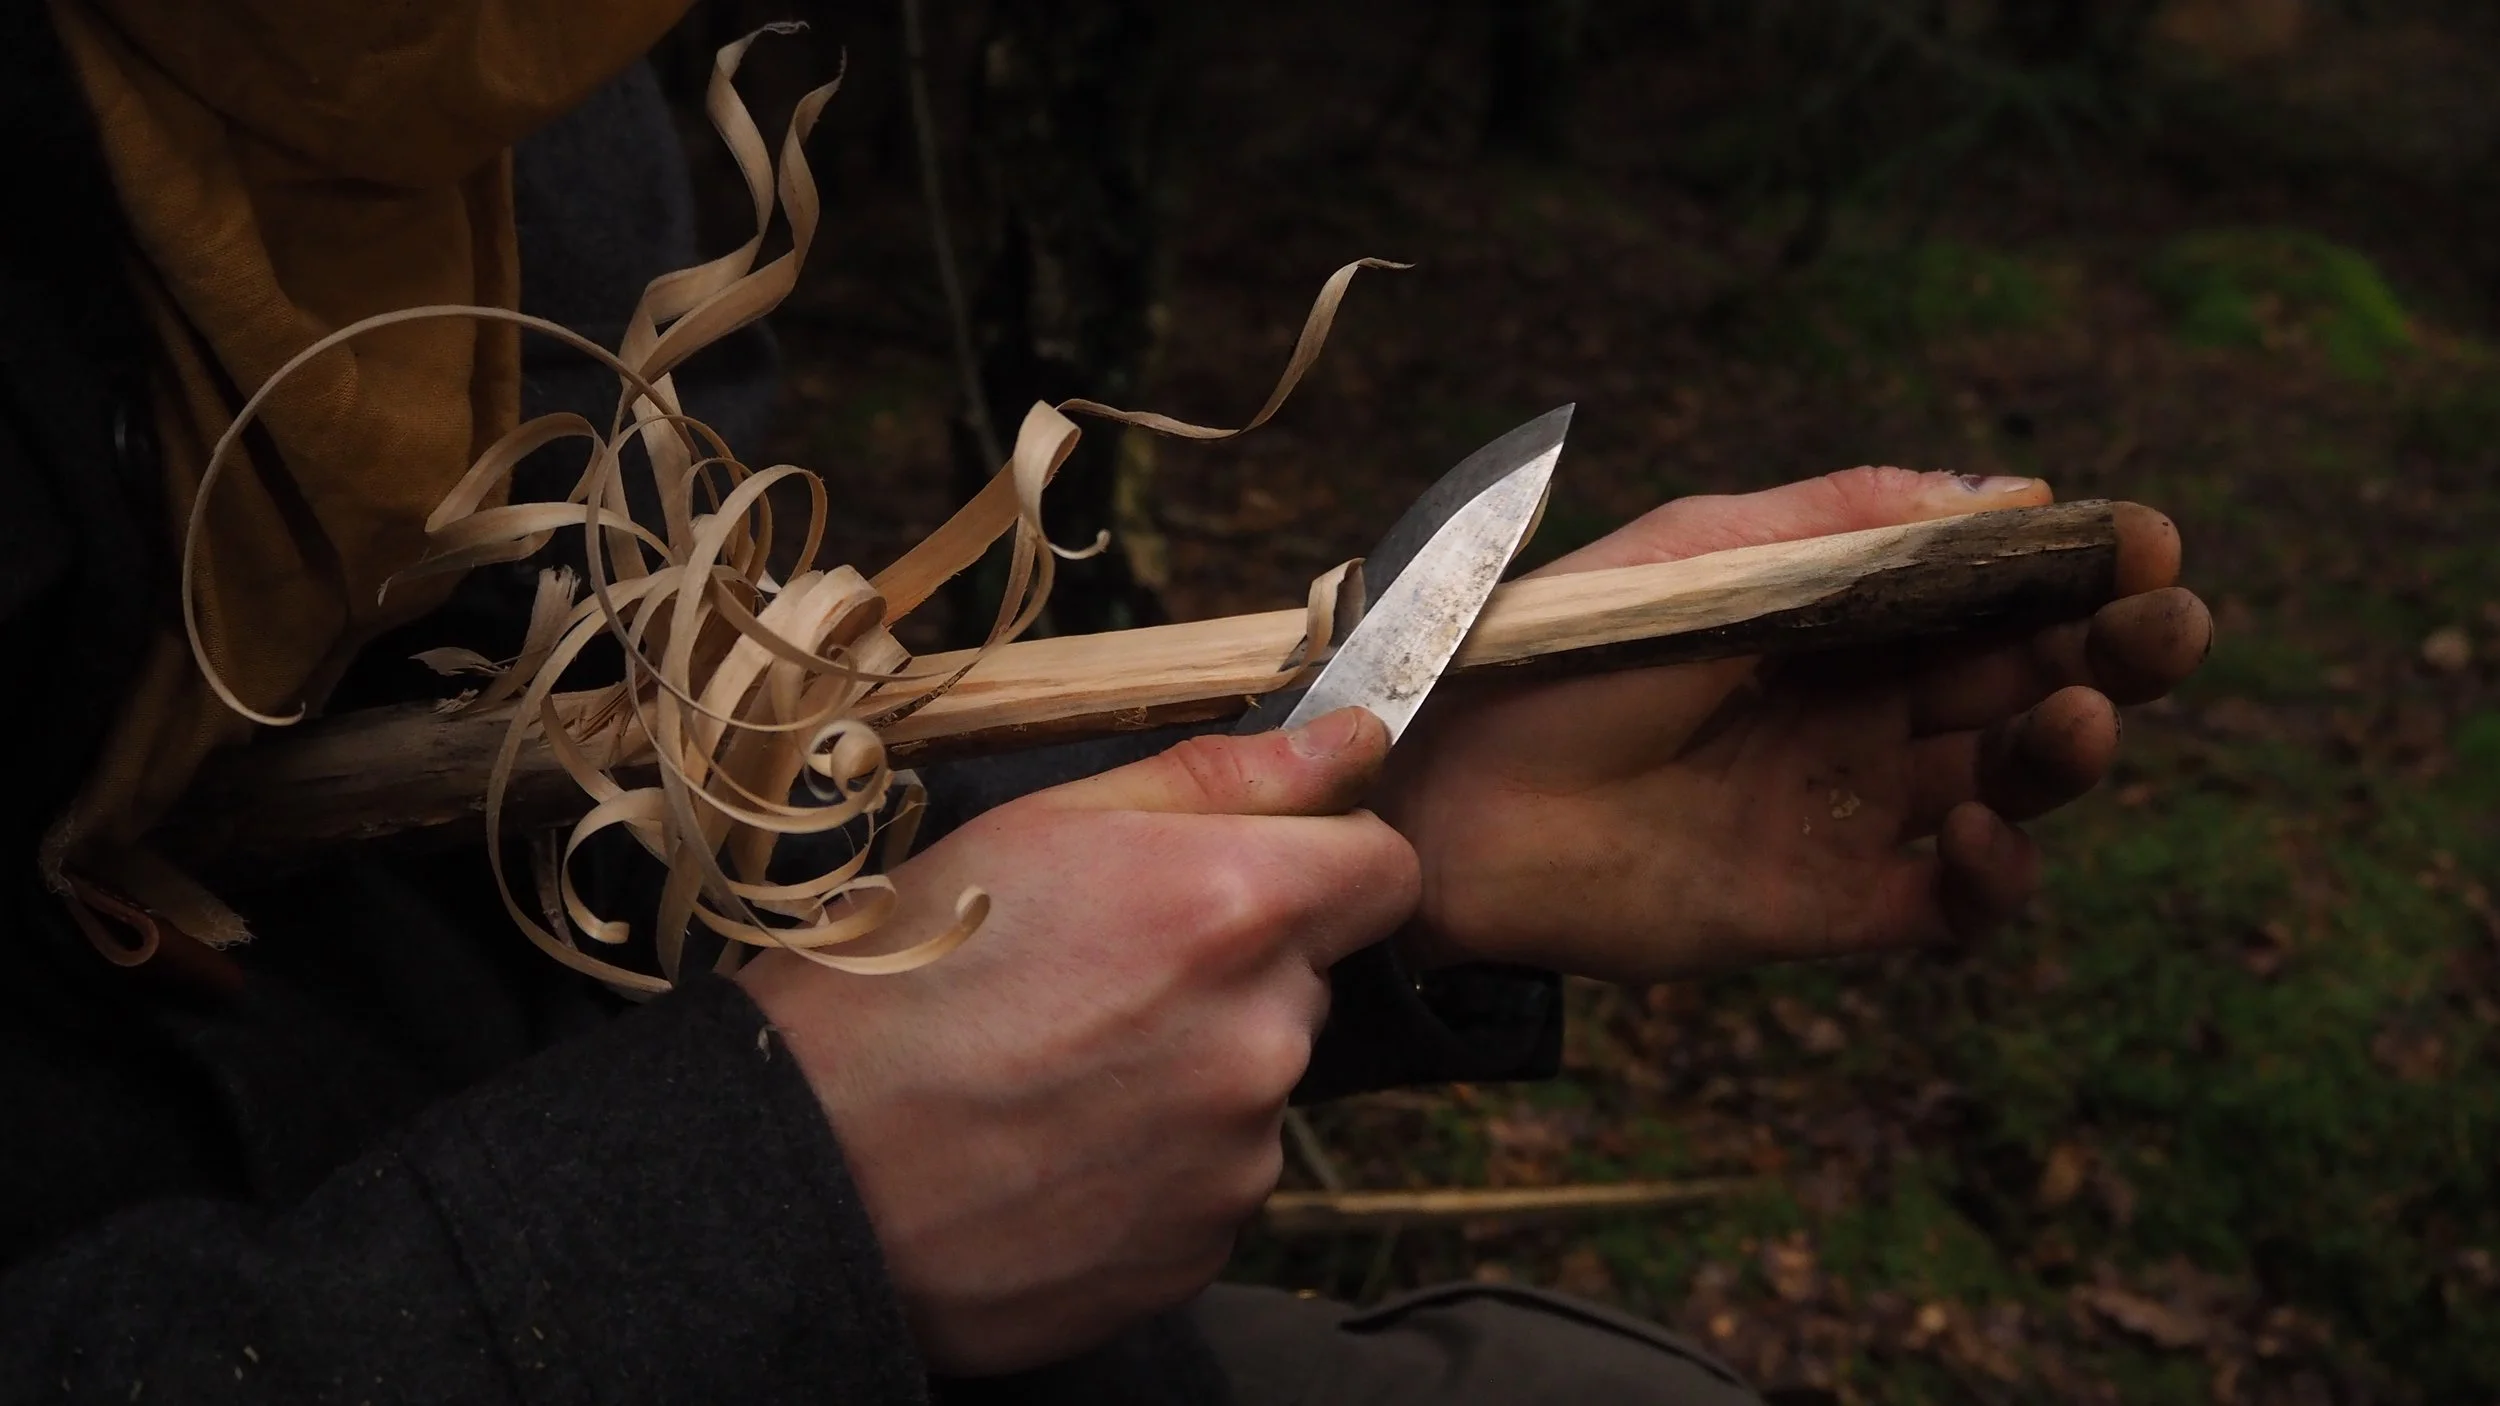
To get started, sit yourself comfortably, either on a bench/ seat or your rucksack, a stump or rock, or even on the ground with your knee bent up in front of you. Hold your knife in a forehand grip and place your fist in front of your knee with the back of your thumb knuckle rested just under your patella. If the handle of your knife allows, you can try exposing a couple of inches of handle near the blade to sit against your knee and act as a fulcrum during the carving. Though this seems to be something of personal preference with people in my experience so you may find you prefer to fully hold the handle and pivot against your hand.
Carve by pulling the stick backwards towards your stomach, holding the stick at the end closest to your body. By lifting or dropping the angle at which you pull the stick you’ll shift the way your blade engages with the wood, cutting deep or shallow, and here is where the practice will come in. You’ll need to sit with this technique, allow your hands to build the muscle memory to know how to move the stick against the blade without needing to ‘think’. You’ll lose many a curl in the early stages as your fingers wait for your brain to figure out whether the sticks going up or down, but before long your hands will learn to skip the brain and do what they feel to be right. Try not to move the knife, resist the urge, and simply hold it fast against the knee. Let the stick do the moving.
Method three:
The Pull Stroke or One-handed Draw.
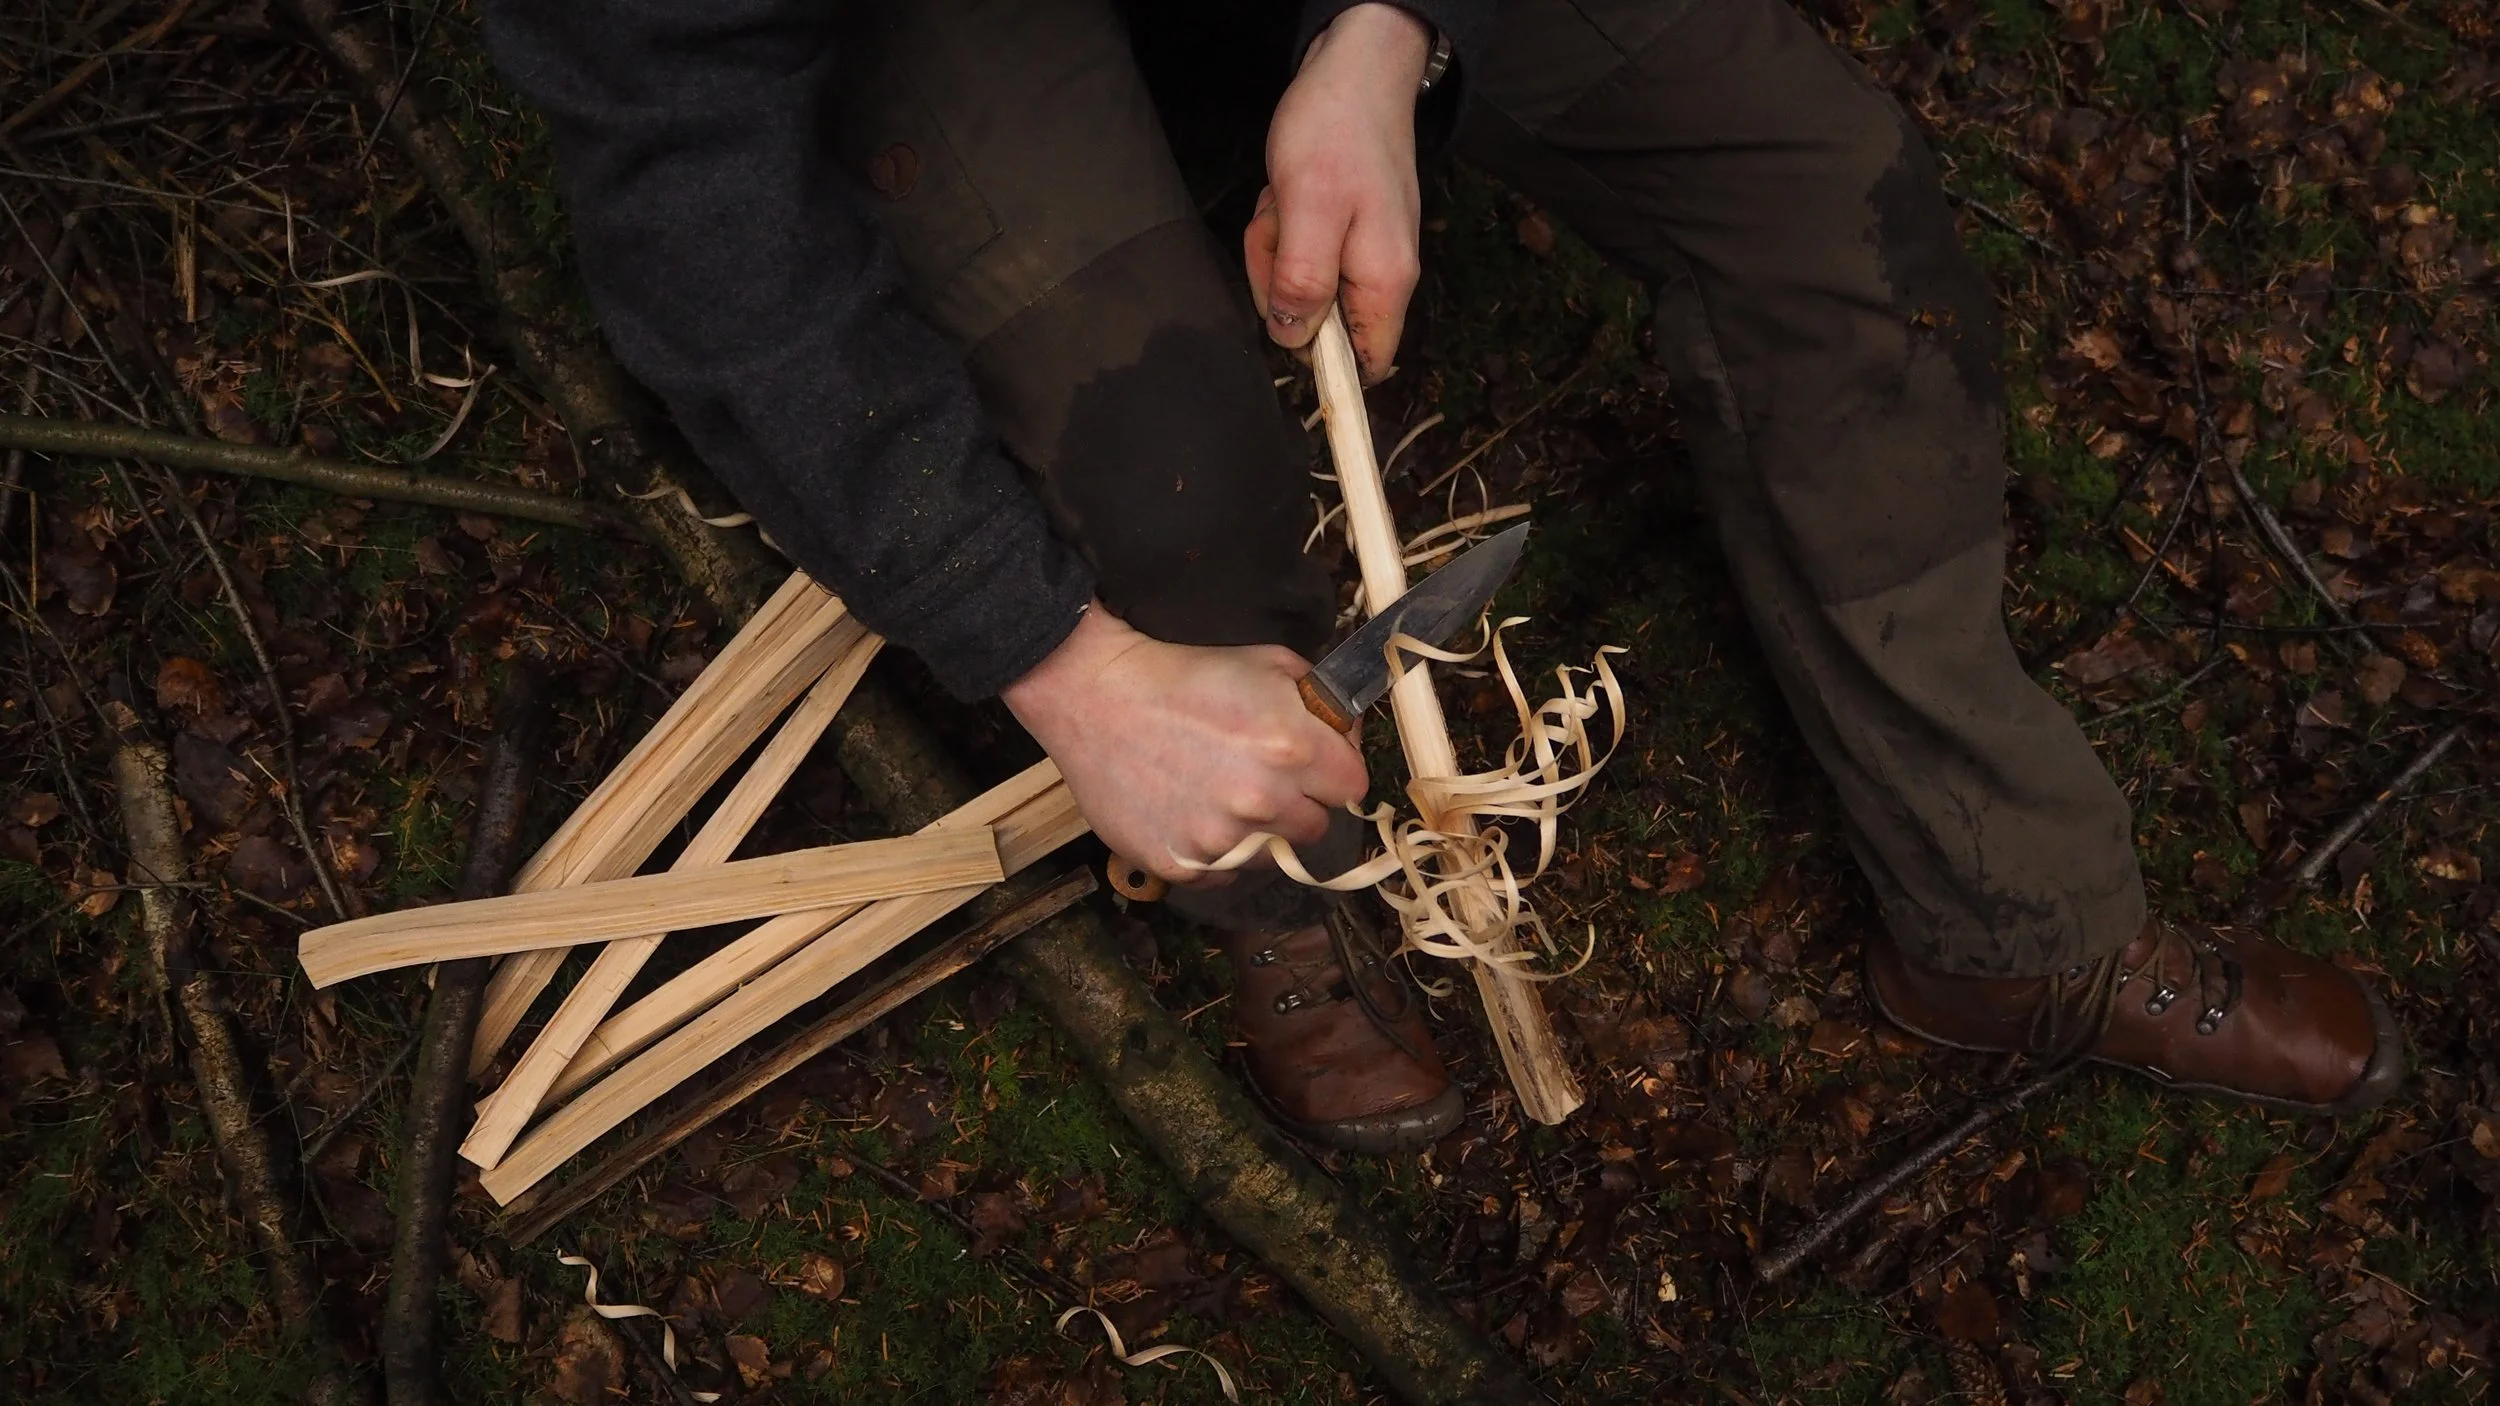
Lastly, I'd like to offer an advanced technique. With the previous methods, provided your holding the right end of the stick, it would be quite difficult to cut yourself. You may slip but as the knife is either moving away from you or held still you’re unlikely to have steel meet flesh. This technique however requires constant concentration, and is best practised in short bouts of 10 minutes. Having said that, done correctly this method is perfectly safe, effective, and has a long history of use in the Swedish carving traditions.
Advanced techniques simply mean there are more controls in place when carving, and that the severity of injury should you lose focus is greater. There are three controls I adopt when carving with the draw stroke: Grip, Tip, and Elbows.
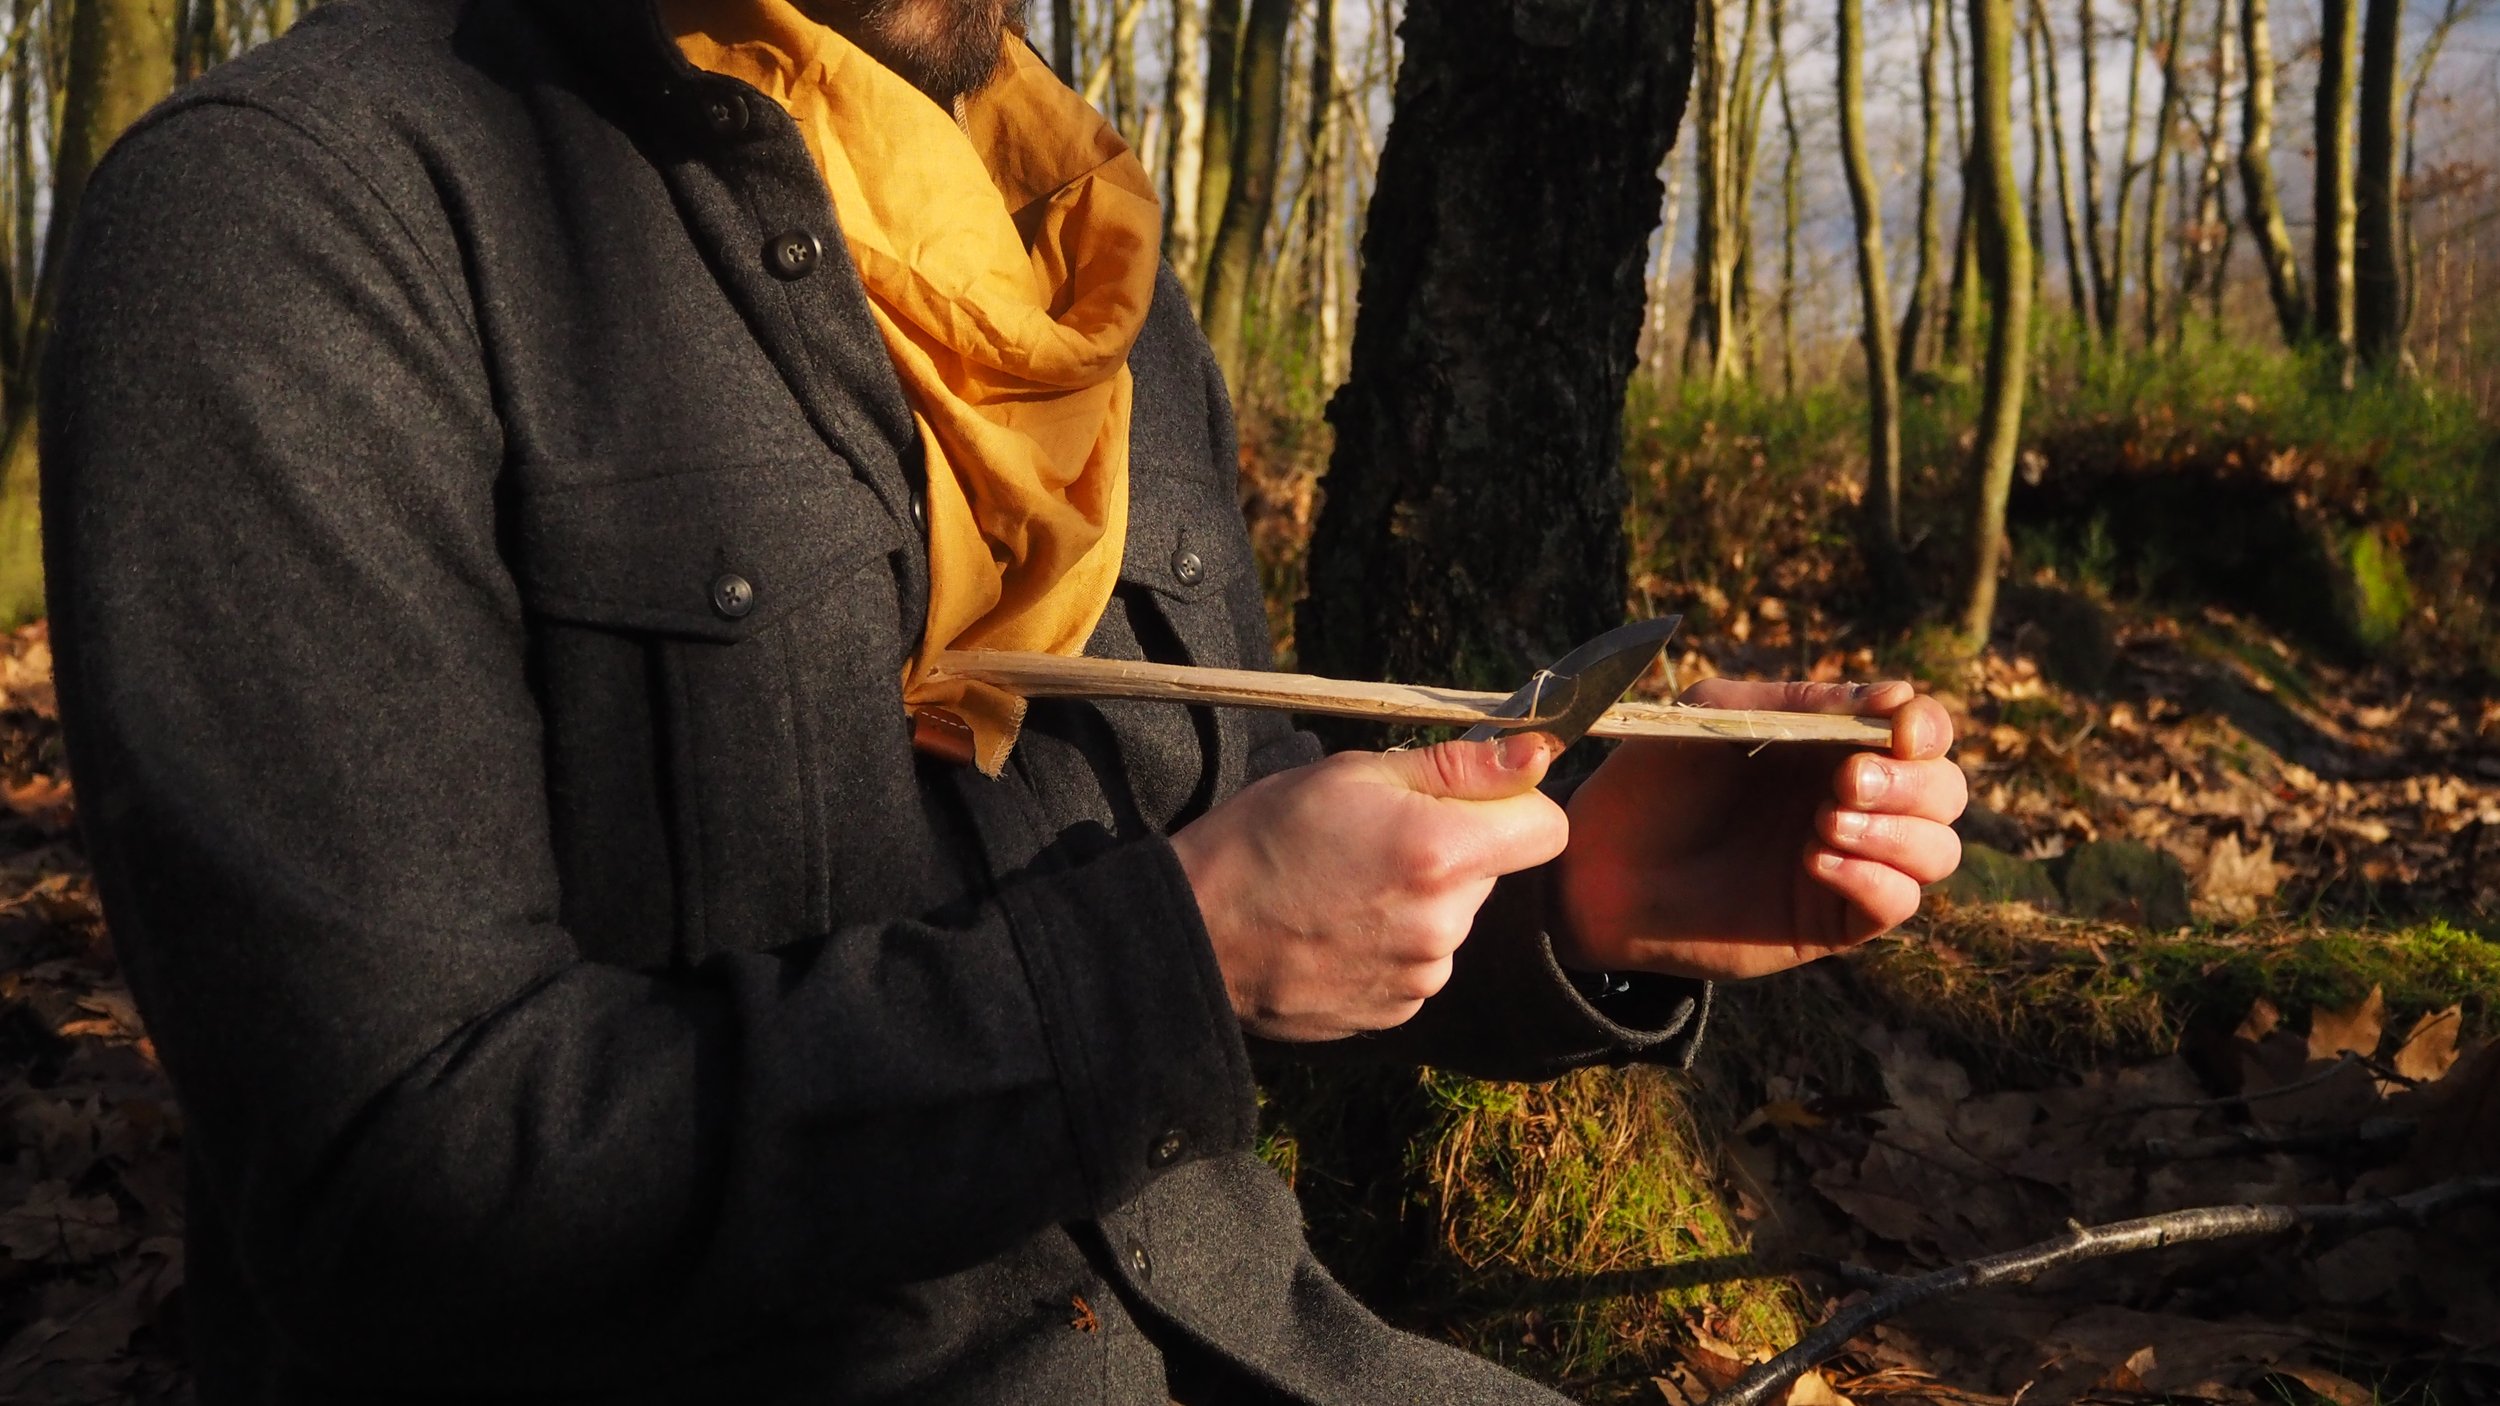
GRIP. To set your grip hold your hand open, palm up with your knife blade aimed at the sky. Close your finger around the handle, and place your thumb on the side of the blade behind the bevel.
This grip will give you good control of the knife, with the thumb providing a refined ‘feel’ to the stroke as you draw against the wood. It’ll help to bolster the next control…
TIP. Always aim the tip of your knife away from your body, do not allow the tip to lean over beyond vertical. The risk being as you draw the knife towards you, a slip could mean a jab to the torso or forearm of your supporting arm. The grip helps make this difficult as bringing the knife past vertical with your thumb at the side is awkward, and thus helps remind you not to do so. Done correctly you will have the butt end of the handle touch your torso as you finish the cut, with the tip of the blade pointed well away.
The final control is elbows. Often forgotten as you focus on the carving, but if you keep your elbows tucked in tight by your side you’ll find in combination with the previous controls that it is really quite difficult now to turn the point towards yourself. The elbow of my supporting arm remains tucked into my side without moving. The arm with the knife glides backwards to make the cut, again cutting with the shoulder not the wrist, but at all times my elbow remains close to my body.
I find when teaching this technique repeating the mantra “tip away, elbows in” to be useful in setting the correct form from the start. Practice initially slowly, without actually carving the stick, until you feel confident you can proceed safely.
To carve feathersticks with this method, the action is a smooth and light draw, rather than a tugging action. Very little strength is involved. Support the stick at the far end with your other hand, and place the near end in a comfortable spot just below your sternum. Don’t allow your supporting fingers to come ahead of the blade, and be conscious of your arm as you pass the blade along the stick. The blade should only move in that single upright plane, you rotate the stick steadily anti-clockwise (if right-handed) to slowly create your featherstick. It produces a featherstick with a slightly longer head as you effectively have a knife-handles length of wood remaining uncarved at your torso, but this does little to affect the utility of the finished product.
I enjoy the pull stroke as a slower, and relaxing means of carving feathersticks. It’s good practice for various woodcrafts too, being useful when carving spoons for example. We’ve used this technique communally when several of us have carved feathersticks during a journey together because the carving action is inwards, and there’s no need for a block. We’ve sat under a tarp in the rain carving and chatting while doing so, the ambience of nature setting the scene for us.
Those are my three main methods of carving feathersticks. There are many variations still, and making feathersticks with an axe is a whole new avenue for learning. Practiced well, often and in fair conditions these techniques have been pulled from the skillset into action during some pretty difficult times, I hope they serve you well also.
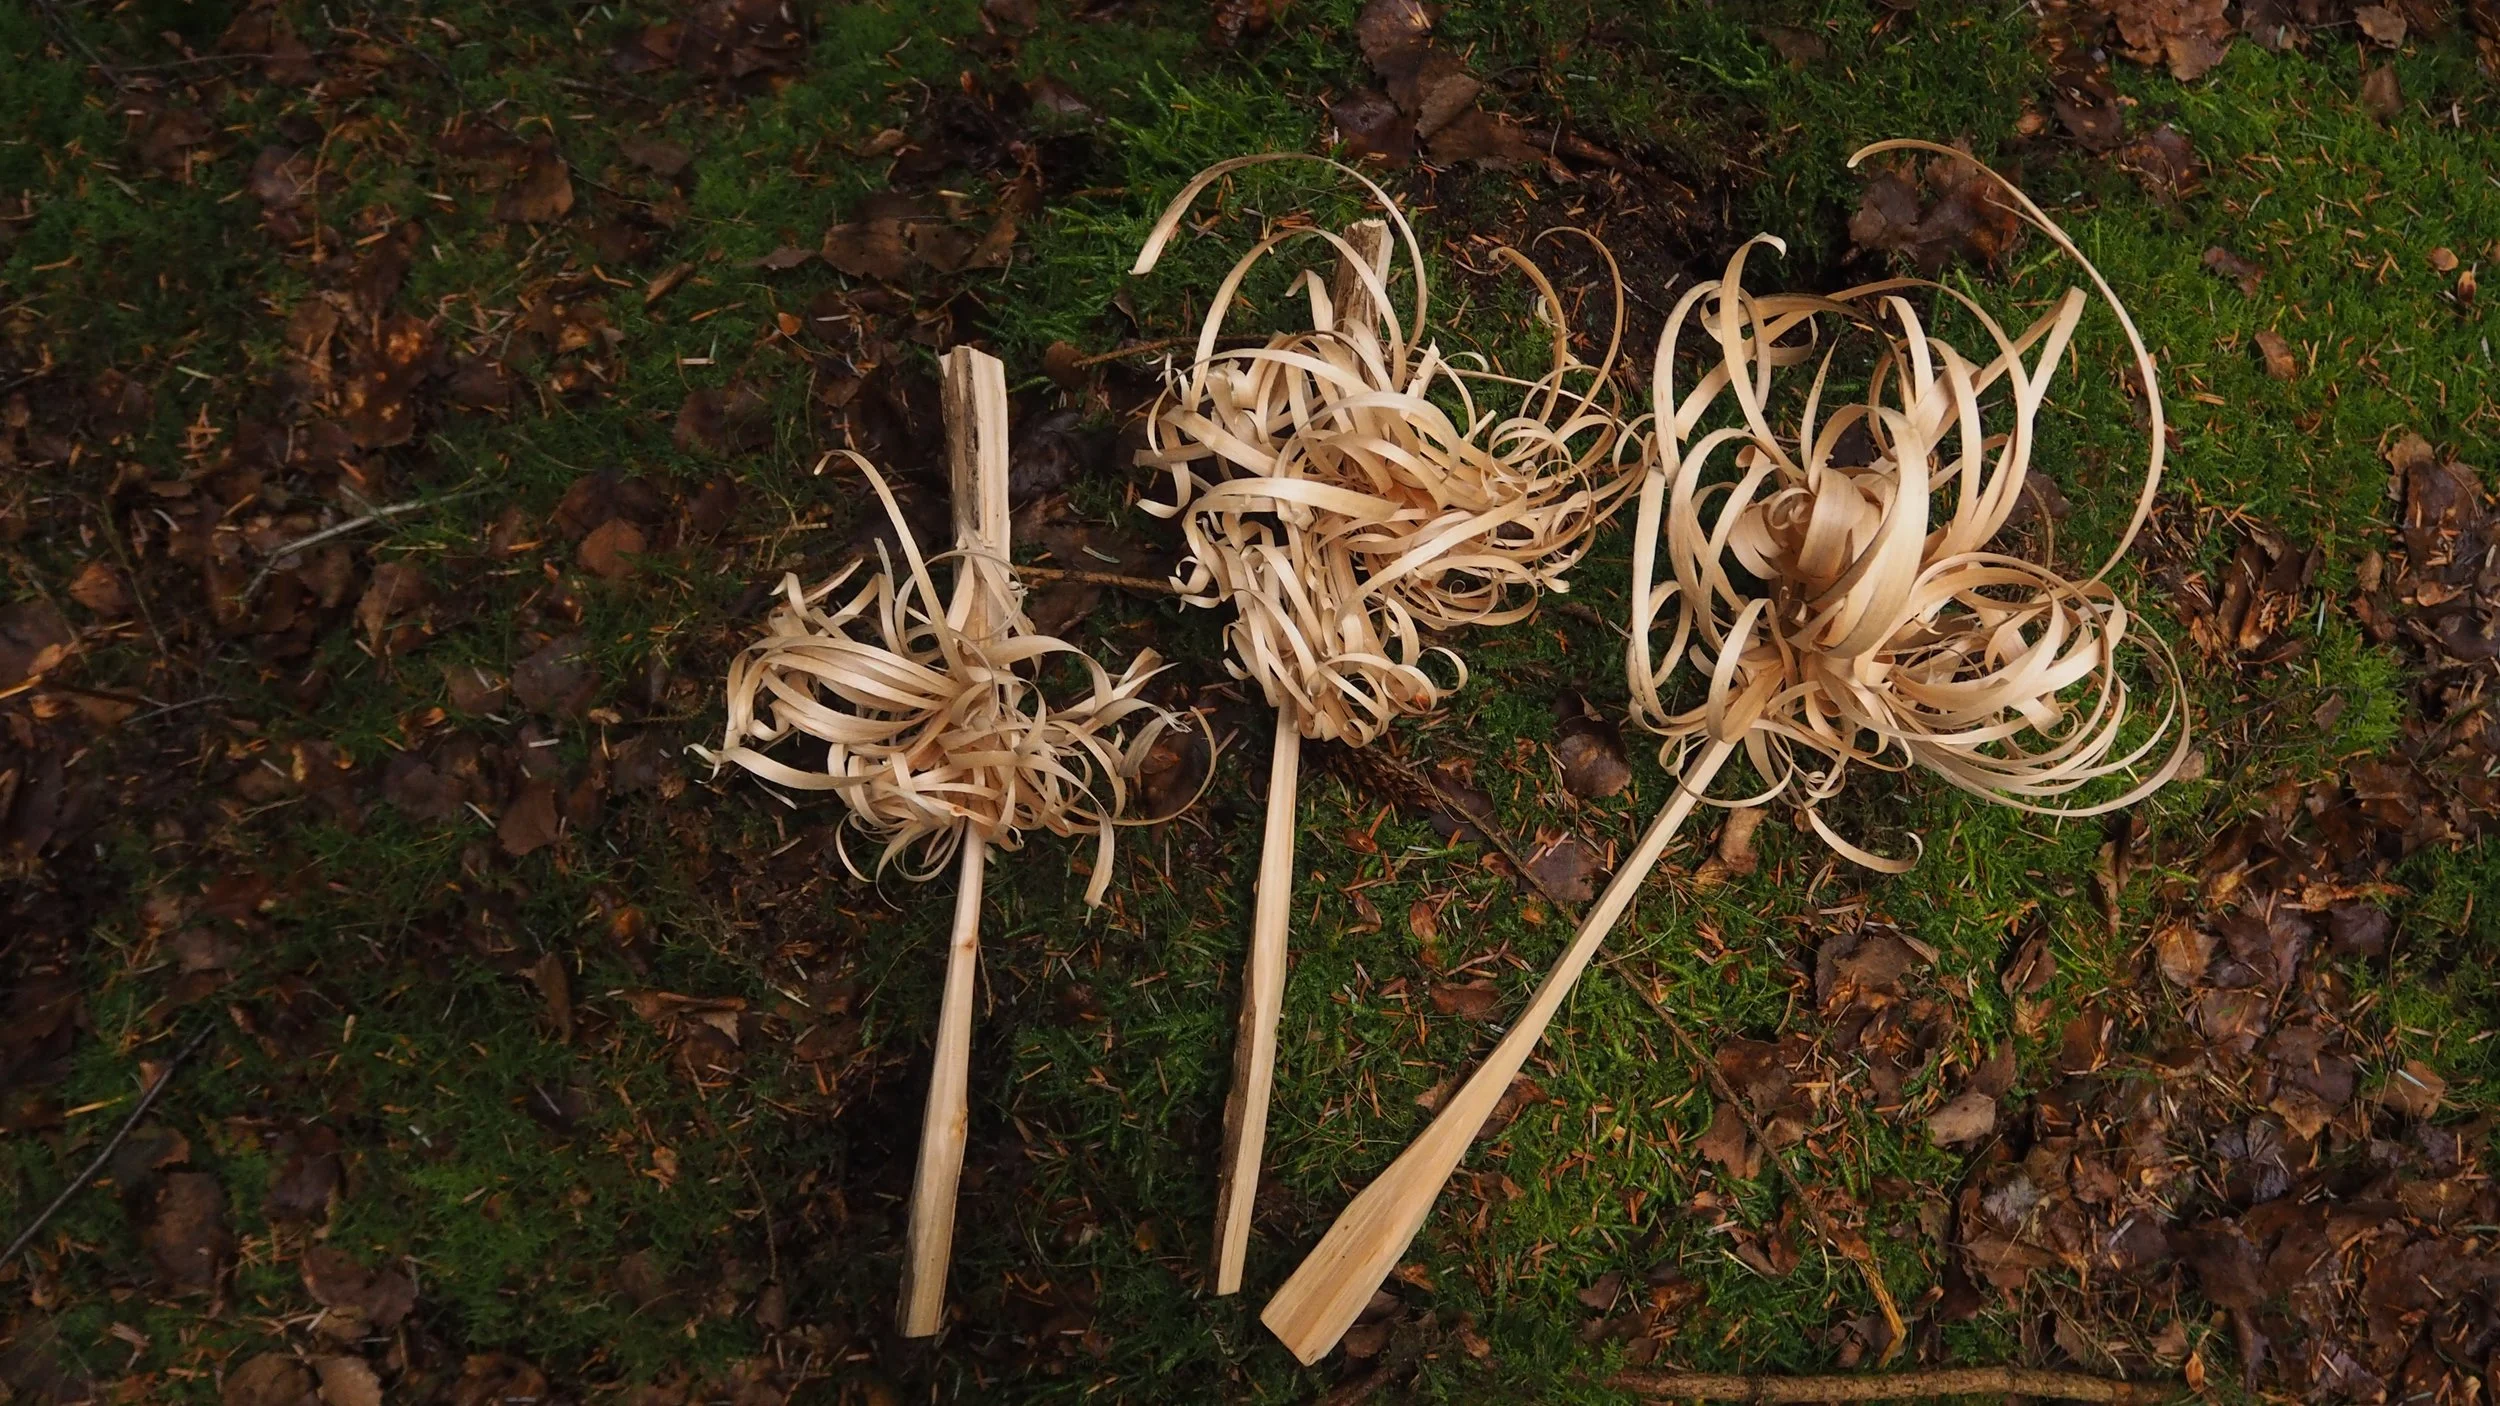
“From left to right, Pull Stroke stick. Knee Brace stick. Forehand ‘classic” stick.


